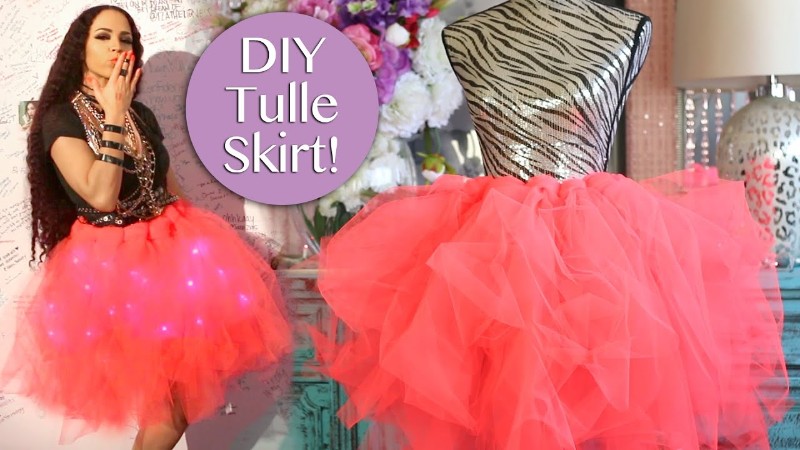
DIY is always an advantage over buying your wardrobe. The first perk is you save money. And secondly, you enjoy crafting clothes in your own style, with your favorite colors and patterns. Here’s a DIY tulle skirt that will surely be fun to make and wear.
Did you like the idea? If so, read all through and make yours in 10 easy steps!
10 Easy Steps To Make A Tulle Skirt
Cut the tulle fabric piece
Take your measurement and add one inch to it. It will be your tulle piece’s length. Then, whatever is the width of your tulle, fold the yardage three times. Now, you can use a ruler, self-healing mat, and a rotary cutter to get a straight edge.
Cut the lining
You need to measure your hips so that the tulle skirt has an opening big enough. To be on the safe side, you can add two inches to your measurement. So, here’s your circular line that will cover the waist.
Now, calculate the waist radius by dividing the previous measurement by 3.14. Then, to the length of the skirt lining, you can add an inch for the hem. You can mark with a fabric pencil or tailor’s chalk.
Sewing the side seams to get the lining
Pin the wrong sides of the fabric together and sew the side seam of the lining. You may use the French seam method. Once you trim the seam allowance, iron your half-ready tulle skirt. Make sure you sew in a way there are no-fray edges.
Sewing the side seams for the tulle
Keep two of the tulle layers above each other. Also, ensure that the edges are aligned. Sew the side seams. Finally, secure the seam at both ends. For it, you can backstitch.
If you wish to dew the tulle without puckering, switch your needs for a new jersey or ballpoint needle. Then, slow down your sewing machine using a short straight stitch. It will avoid puckering.
Basting the tulle layers around the waistline
In the last step, you sewed the first four pieces of tulle. It created two large fabric tubes. Now, align the side seams of the two tulle tubes. Do it from the right side to the wrong side. Finally, baste through these two layers.
After that, make the stitch length longer and run parallel lines of basting stitches. Ensure that you do not backstitch and leave long thread tails at the ends and the beginning.
Let the tulle match the top of the skirt lining
Now, you need to create the gathers. So, grab the tops of the two threads with one hand and use the other hand to push the tulle fabric. Until the gathers are evenly distributed, continue to distribute evenly. Match the skirt lining’s top part and then tie the threads to create a knot.
Sew the lining and the tulle together
In this step, you have to place the skirt lining in the inner part of the tulle. So, the wrong side of the tulle matches the right side of the satin. Pin and stitch across the line. You can place the lining back seam in the center of the tulle side seams. Finally, use a serger to finish the waist seam.
Prepare the elastic
Now, cut an elastic band and ensure it fits around your waist when pulled or stretched. For the seam allowance, you can add half an inch. Next, sew the elastic ends together.
Sew the skirt to the elastic
Mark the elastic and tulle waistband in four segments. Make sure they are equal. The center front, the center back, and the two halfway points on either side. Next, sew the elastic to the skirt by matching the pins. The right side of the skirt must go with the wrong side of the elastic.
The skirt opening should be larger than the elastic band. So, stretch the elastic towards you. Do it until the gap in the fabric straightens out. Also, it would be best if you sewed slowly. Also, ensure that when the needle stops, it is in the down position. Finally, use a straight stitch to sew the skirt to the elastic.
Hem the lining
The final step is to hem the skirt lining. For this, you require sharp scissors to trim the bottom (the excess fabric). However, ensure to not cut through the tulle part. Finally, you can finish the edge of the lining with the serger’s narrow rolled hem.
Conclusion:
After creating your DIY tulle skirt, you can store it on a clothes hanger to prevent wrinkling. Also, ironing the skirt removes wrinkles. But, place a soft towel and iron from above. Direct heating will burn the tulle. If you found this tutorial helpful, do not forget to leave a comment. Stay stylish!


